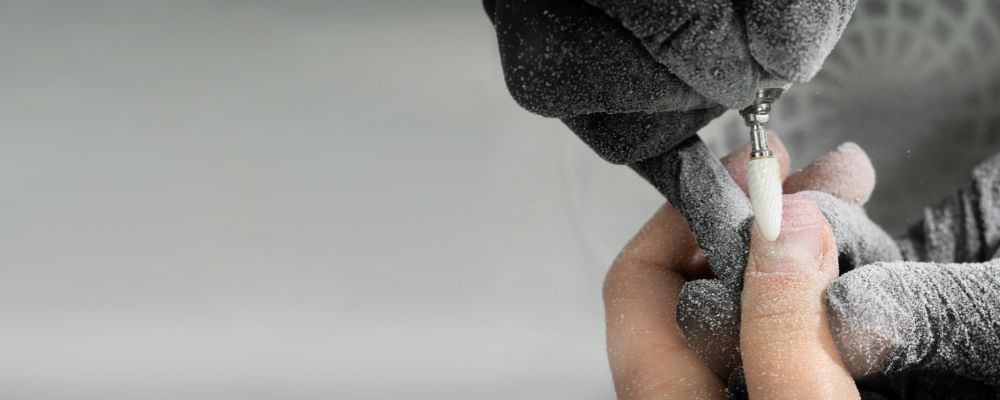
 Using a nail drill can revolutionize your at-home manicure and pedicure routines. These versatile tools allow you to shape, file, and polish your nails with salon-like precision. However, nail drills can seem intimidating, especially if you’re a beginner.
This comprehensive guide will teach you everything you need to know to use a nail drill safely and achieve stunning results.
Getting Started with a Nail Drill
Investing in a quality nail drill is the first step towards fabulous DIY manicures. Here’s what you need to know when selecting and preparing your tool:
Charging and Maintaining
Be sure to fully charge your cordless drill before each use to prevent inconvenient battery drain during filing. Follow the nail drill manufacturer’s instructions for charging time. Proper storage and care will maximize performance.
Choosing Bits
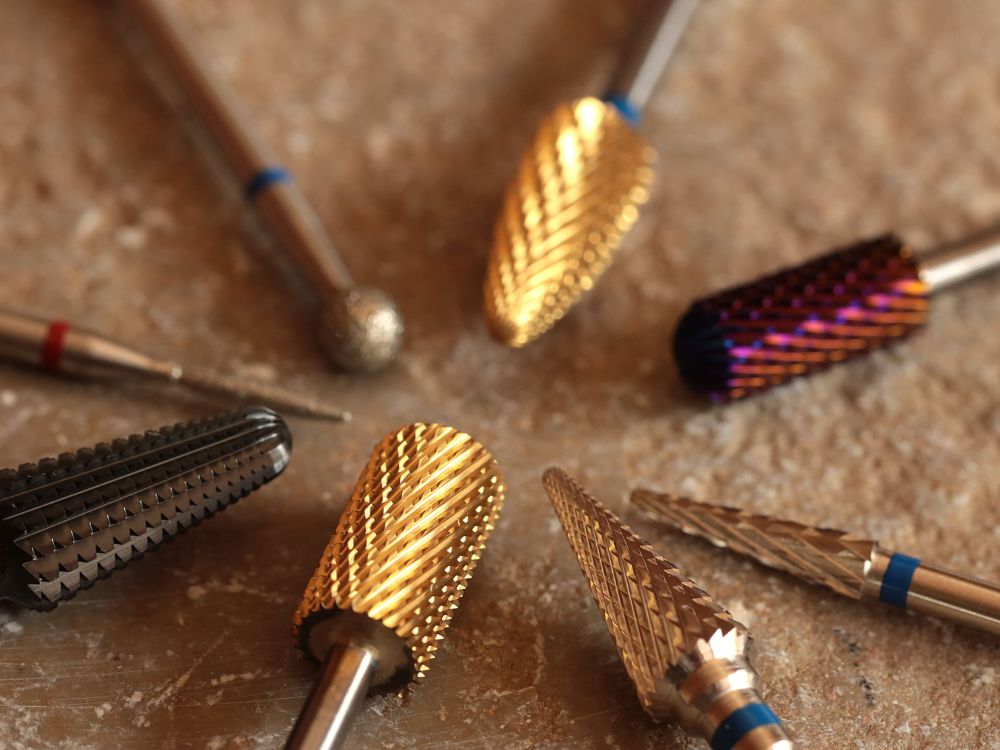
Nail drill bits have different shapes and abrasiveness for filing, shaping, and cleaning tasks. Have a selection on hand so you can pick the one best suited to each step. Refer to guides on matching bits to uses. If you are beginer,
Learn How to Choose & Use Nail drill bits by Two Tables

Adjusting Speed and Direction
All good nail drills allow you to adjust your rpm speed and rotate direction to suit you. Start slower and gently until you get the hang of controlling the spinning. Try higher speeds and reverse direction as you advance for opposite-hand filing convenience.
How to Use a Nail Drill on Yourself
Ready to tackle your nails? Follow these steps when using your nail drill for fabulous DIY manicures:
Preparing Your Nails
Start by removing old polish and trimming nails to the desired length. Use pure acetone and cotton balls to eliminate lingering traces thoroughly. Then, wash hands with antibacterial soap and water. Trim hangnails with a clipper. This manicures and sanitizes the nail canvas for drilling.
Filing and Shaping
Select a low speed below 10,000 rpm to begin. Progress slowly as you become accustomed to the vibration and sound. Gently guide the spinning drill bit along the nails to shape them. Apply minimal pressure, letting the tool do the grinding work. Move the bit continuously to avoid heat buildup. Periodically wipe away filing dust to check smoothness.
Finishing Touches
Once the length and shape are satisfied, refine the nail edges using a buffer block. Buffing eliminates leftover roughness for a pristine shine. Work bit by bit, buffing vertically and then horizontally. Apply a nourishing botanical oil to condition the cuticles. Your nails will look salon-fabulous!
Here is a draft section on How to Use a Nail Drill for Beginners:
How to Use a Nail Drill for Beginners
Caution and patience are key for those trying a nail drill for the first time. Here are some novice techniques and safety tips:
- Starting Slowly: Begin with the lowest speed setting, below 5,000 RPM, to get a feel for the vibration and sound. Gradually increase the speed as you become more comfortable. Take your time finding the optimal pressure to shape nails without damaging them. Rushing through at high speeds right away leads to accidents.
- Practicing on Fake Nails: Consider honing your skills on fake nail tips before attempting natural nails. This allows drilling practice without risking real fingertips. Repeated rehearsals build muscle memory on properly controlling the spinning drill.
- Getting Professional Guidance: Have a seasoned nail technician provide hands-on guidance for using the drill. Their specialized experience teaches beginners proper grip, angles, pressure, and more. Even without access to professionals, online tutorials also educate.
- Prioritizing Safety: The top priority when drilling should always be safety - yours and your nails. Prevent injury by wearing protective eyewear, securing hands properly, and monitoring heat. By valuing caution first, you can gain confidence at your own pace.
How to Use a Nail Drill on Natural Nails
Natural nails require a more gentle approach than acrylics or gels. Follow these tips for safe electric filing:
Selecting the Right Bits
Opt for a fine-grit sanding band or diamond bit to prep natural nails without causing abrasion damage. The smooth surfaces of these bits gently shape nails without thinning them out over time through over-filing. Never use coarse bits on real nails.
Working Gently
Let the drill’s rotation do most of the filing work for you. Apply the lightest pressure possible, allowing the bit to delicately smooth nails. Excess pressure risks cracking, chipping, or filler erosion. Natural nails don’t need intense grinding.
Following the Nail Shape
Shape nails according to their natural curve for a uniform look that maintains strength. Avoid filing aggressively side-to-side, which thins out nails. Instead, utilize the drill’s spinning to contour the existing curvature.
Finishing with Smooth Buff
Finish natural nails with a triple-grit buffer block to perfect smoothness. Buffing seals the keratin layers and nourishes the matrix for fortified, hydrated nails that shine. Use cuticle oil to condition further.
How to Use a Nail Drill on Gel Nails
Gel nails require careful precision when filing and shaping to avoid damage. Follow these techniques:
- Removing Dip and Gel Polish: To remove colored gel polish, use a coarse-grit sanding band or flame-shaped carbide bit. Gently guide the nail drill from cuticle to tip in smooth motions until at least 80% of the product disappears. Avoid lingering too long in one spot - heat causes burning. Then, soak off any reside gel coating.
- Thinning and Smoothing Layers: Utilize a medium-grit sanding band to gently thin and even out gel layers once base colors are removed. Apply minimal pressure, allowing the spinning drill to smooth away small ridges for a seamless finish uniformly. Move the bit continuously rather than holding it over one area to prevent overheating.
- Avoiding Overfilling: The flexible nature of gel nails means you don’t need intense filing pressure. Allow the movement of the drill bit to shape nails. Applying too much grinding pressure can cause gels to crack or lift. Heat also degrades the bonds. Go slowly and monitor the temperature.
Special Cases for Using a Nail Drill
While nail drills are primarily used for fingernail care, they also serve special purposes for pet grooming, woodworking, and other unique situations.
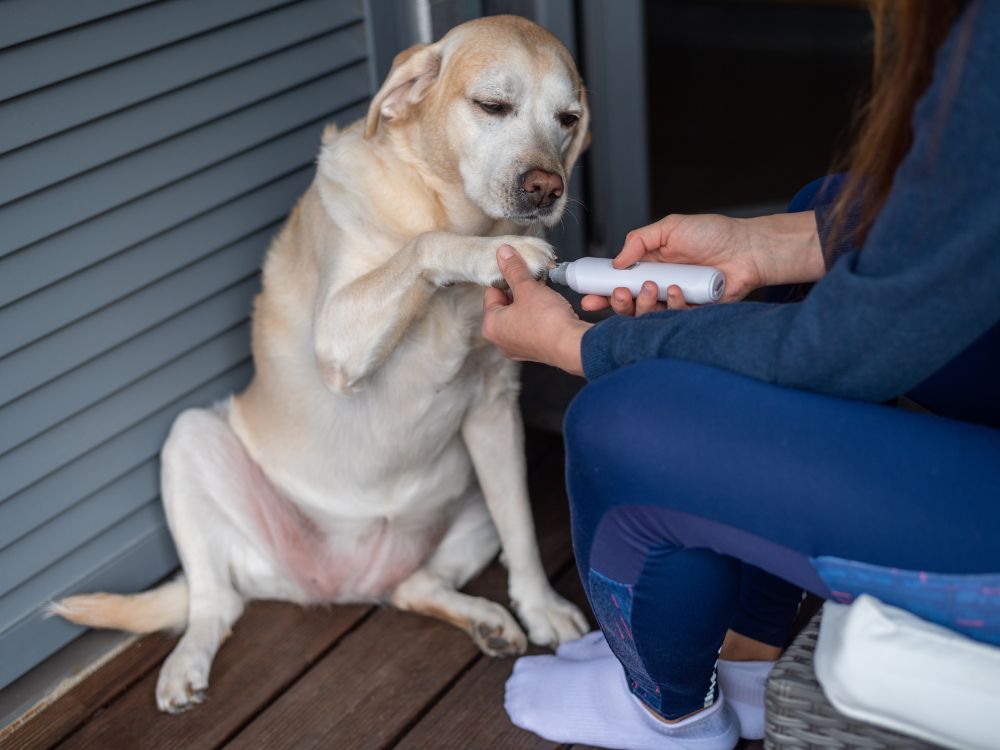
How to Use Electric Nail File for Dogs
An electric nail file quickly and safely smooths dog nails without pinching their paws or startling them. Choose an appropriate pet-designated tool. Introduce it slowly so they remain calm. Gently file the tips little by little, avoiding the quick. Offer treats and praise during filing to create a positive association.

How to Drill a Nail
When securing trim or building furniture, knowing how to drill pilot holes safely is key. Mark the desired spot with a nail punch. Select a drill bit with the same thickness as the nail. Drill gently straight down, securing the workpiece so it doesn’t shift. Drive the nail into the hole with a hammer for a snug fit.
How to Use Nail Drill on Toes
Filing toenails requires picking cylinder-shaped drill bits wide enough to smooth the whole nail efficiently. Medium speeds work best. The file overlaps the nail edge gently instead of removing the cuticle. Follow the natural shape and curve. Soak feet first to soften—Disinfect tools properly after use.
Why Does My Nail Drill Burn
Excess heat during drilling can burn nail beds or skin, causing discomfort. This often results from lingering too long in one spot, applying too much pressure, or using worn-out abrasive bands. Check your technique and equipment if burning occurs. Prevent it by working carefully in controlled movements.
Cleaning and Maintenance
Proper care keeps nail drills functioning flawlessly for years. Follow these upkeep tips:
- Disinfecting Bits: After each use, prevent bacteria buildup by disinfecting drill bits and buffers. First, wipe away dust and debris with a brush. Then soak the equipment in rubbing alcohol or an antibacterial spray for several minutes. Allow bits to air dry before storage or reuse fully.
- Storing Properly After Use: Always unplug the nail drill before disassembling and cleaning. Place handpieces, chargers, bits, and guards in a protective case or bag when not actively filing nails. Stow them in a cool, dry area safe from damage or dirt accumulation.
- Replacing Worn Parts: Inspect your nail drill tools periodically for signs of wear. Buffing bands and other accessories degrade over time with friction. Replace any warped, bent, or cracked attachments. Ensure the motor runs smoothly and charging functions properly. Replace faulty electrical parts promptly.
- For completly guide of How, why and when should we do a nail drill mantaince please click Here
Conclusion
Operating a nail drill safely takes practice, but the beautiful DIY salon results make it worthwhile! Start slowly, choose the right bits for each task, adjust speed and pressure as needed, and maintain your tool correctly.
With some patience for the learning curve, a drill’s precision empowers stunning nail shaping, intricate art, quick polish removal, and more. Say goodbye to hand fatigue and hello to gorgeous nails!
FAQs
1.Is a nail drill terrible for your nails?
No, when used properly, a nail drill isn’t damaging. Applying too much pressure or heat can weaken natural nails over time. But when the correct technique is followed, a drill’s high RPM rotation does the hard work for you without impacting nail health.
2.How often should you replace nail drill bits?
On average, replace coarse nail drill bits after 5-7 uses. Smoother fine-grit bits may last 10-15 manicures, depending on hardness. Always inspect bits for wear, replacing any bent, dull, or cracked.
3.Can I use a nail drill on acrylic nails?
Yes, a nail drill smoothly files and shapes applied acrylic nails. Use a medium-grit bit to refine edges and contour the nail. Avoid lingering too long in one spot to prevent product or nail damage from heat.
4.What maintenance does a nail drill require?
Keep your nail drill running optimally by disinfecting bits after each use, storing them properly in a protective case, and replacing worn accessories regularly. Check the charger functionality and motor operation every 6 months.
5.Should I get a cordless or corded nail drill?
Cordless drills offer greater portability and range of motion for home manicures. Corded drills may have more power but limit your filing angle options. Cordless works well for most users. Consider your budget and how involved your nail care routines are.


